
The VDO fuel gauge in a 1966 VW Bug is known for its reliability. However, like any mechanical component, it can experience issues over time. When the cable inside the fuel gauge broke in my VW Bug, I faced the challenge of finding a replacement cable. Unfortunately, replacement cables were not readily available, and purchasing a complete fuel gauge unit seemed costly. Determined to find a solution, I decided to explore a DIY fix. In this article, I will share my experience and guide you through the process of repairing the fuel gauge cable in your VW Bug.

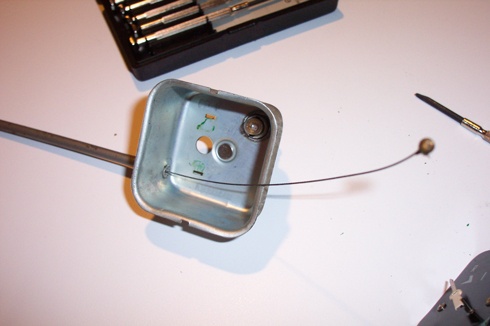
Identifying the Problem: The first step in tackling the fuel gauge cable issue was to assess the problem. Upon inspection, I discovered that the cable had a small ball on the end, which had broken off. While reattaching the ball would have been a quick fix, the age and previous damage to the cable made this an unreliable solution. As a result, I opted to remove the fuel gauge from the beetle and disassemble it for further investigation.

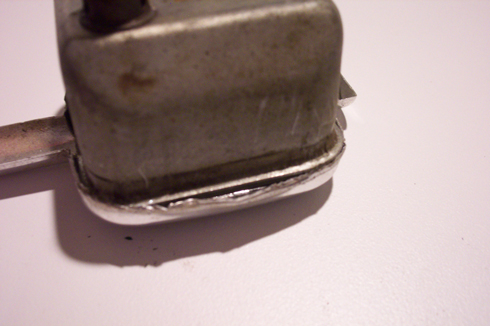
Disassembling the Fuel Gauge: Disassembling the VW fuel gauge proved to be a straightforward process. Follow these steps:
- Carefully remove the chrome trim from the gauge using a small screwdriver.
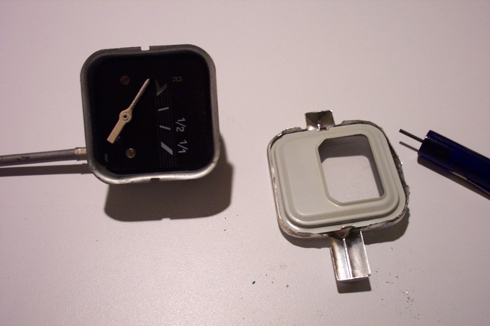
- Once the chrome trim is removed, the section of the VDO fuel gauge displaying “Tank” becomes loose. It is possible to transfer this part to a new gauge if desired.
Repairing the Cable: To repair the VW Bug fuel gauge cable, I sourced brake cable sheathing and a cable from a bike shop. The use of these materials ensured low friction, preserving the gauge’s accuracy. Follow these steps:
- Measure and cut the brake tubing and cable to the appropriate lengths, leaving a little extra cable for flexibility.
- Attach an end to the new cable. I used the smallest slip shot sinker available, securing it with epoxy to prevent slippage. Alternatively, soldering can be used as an attachment method.
- Trim any excess cable to avoid rubbing against the gauge housing.
Reassembling and Recalibrating the Gauge: Once the cable is repaired, proceed with reassembling the fuel gauge. Follow these steps:
- Thread the cable through the gauge housing and the new brake sheathing.
- Attach the cable to the VW fuel sender. I wrapped it around the fuel sender and secured it with a crimp-on brake end cap, readily available at bike shops.
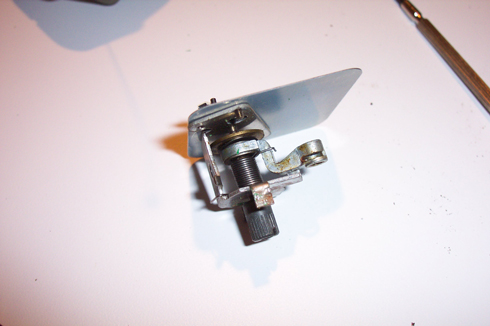
- Recalibrate the gauge if necessary. If the new cable is of different length, calibration is required. Fill the tank, reset the dial to full, and slightly adjust it downward to indicate lower fuel levels. Drive your classic VW while keeping track of miles until the tank is low, then readjust the calibration accordingly.
Repairing the fuel gauge cable in a 1966 VW Bug can be accomplished with a DIY approach. By sourcing the necessary materials and following the step-by-step instructions provided, you can save money and retain the functionality of the original VDO fuel gauge. With less than $10 worth of parts, I successfully restored my VW Bug’s fuel gauge to its former working condition. Enjoy the satisfaction of maintaining the authenticity of your vintage vehicle while ensuring accurate fuel level readings.